Daily Archives: September 7, 2018

How to Install Cable Managers in Horizontal Cable Management

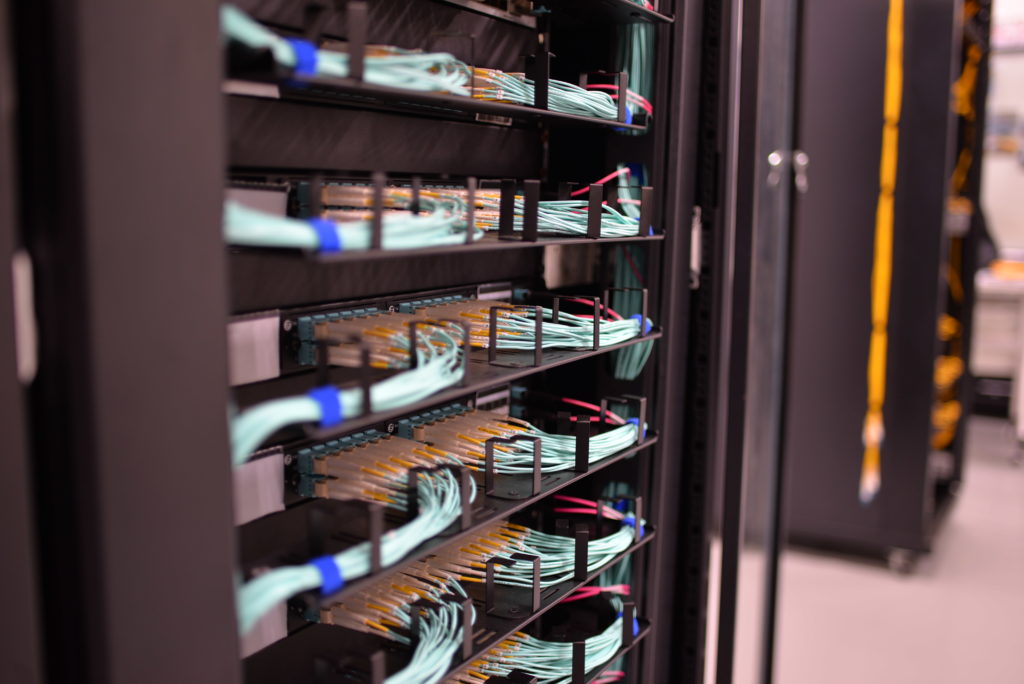
As everyone knows, in the data center, a large number of cables scattered and entangled together will cause maintenance trouble. Therefore, how to achieve a successful cable management is a hot spot. We all know that cable management solution can be generally divided into horizontal cable management and vertical cable management. As for different management solution, there are different products, such as fiber optic patch panel, cable manager, fiber rack, etc. need to be installed. Today, let’s talk about how to install 1U/2U cable manager in horizontal cable management.

Cable Manager in Horizontal Cable Management

1U/2U Cable Managers for Horizontal Cable Management

When it comes to horizontal cable management, the 1U/2U horizontal cable managers cannot be ignored. There are many styles of horizontal cable managers which are helpful in rack cable management.

Here we take FS 1U plastic single sided horizontal cable manager with finger duct as an example to explain. The 1U plastic single sided horizontal cable manager can safely organize and protect network cables. The design of the finger duct is one of the most popular managers in the market. The detachable hinge cap provides easy access to the cable management, reducing installation time and costs, and protecting the cable from damage or dust. By the way, this 1U cable management suite has two versions: one side and two sides. The two-sided horizontal cable manager provides flexibility for front and rear cable management.

horizontal cable management tool

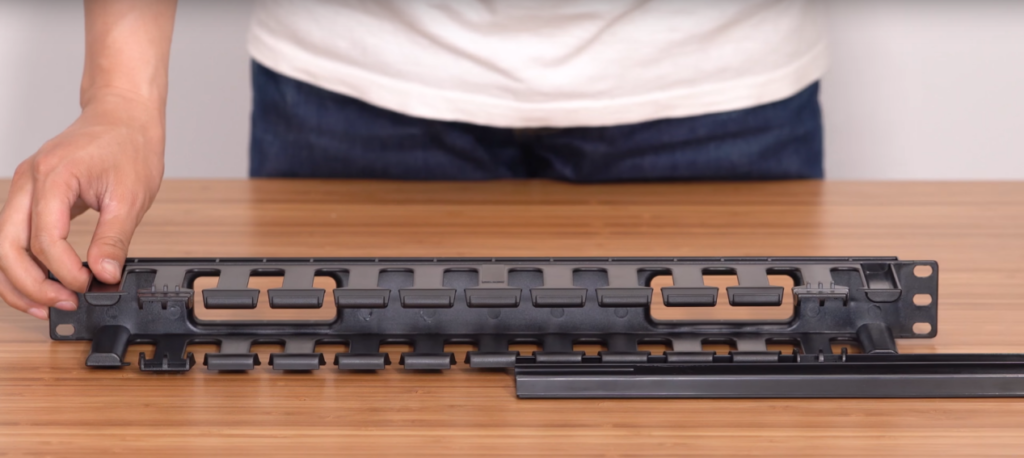
Figure: FS 1U Plastic Single Sided Horizontal Cable Manager with Finger Duct

In addition, there is another commonly used horizontal cable manager: the cable manager with the D-ring. Unlike the cable manager with the figure duct, the horizontal cable manager with D-rings is an open-access management tool. Moreover, it also provides great flexibility. Components and cables can be easily added with the growth of system requirements.

horizontal cable management tool

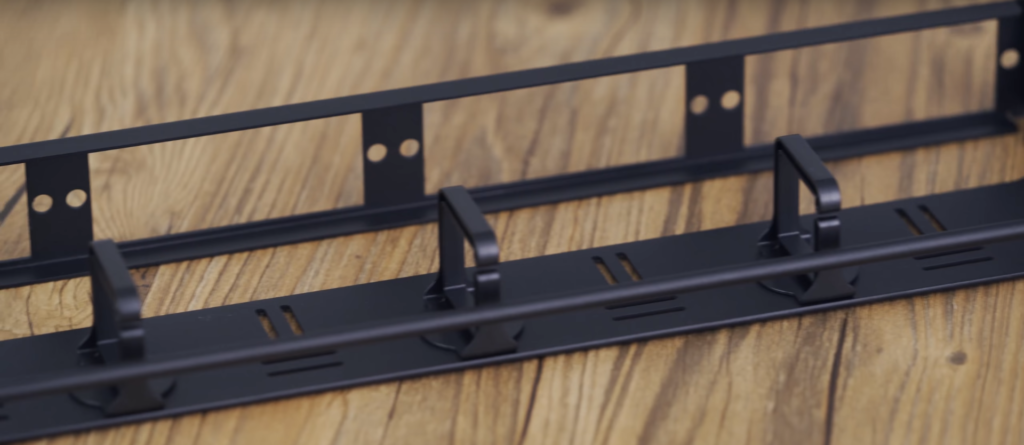
Figure 2: Horizontal Cable Manager with D-ring

Install 1U/2U Cable Managers in Horizontal Cable Management

Choosing 1U/2U horizontal cable managers is not an easy task, so does their installation.

First, please fix the M6 nuts on the standard racks and align the installation holes of both horizontal cable managers and standard racks. Then, please fasten the managers with M6 screws. Finally, please make sure that the screws are tightened and the nuts are assembled correctly. When these steps are accomplished, our installation is completely finished. Attention! I have an advice for you: before installing, please make sure the racks or cabinets steady to avoid any personal injury for cabinet rollover. The video below elaborates the 1U/2U horizontal managers cabling details.

Conclusion

With the help of horizontal cable manager, more secure cabling is reasonably used in space. It is very important to install the horizontal cable manager and use it to arrange a large number of cables. Hopefully, after reading this post, you will be able to understand how to install cable managers in the horizontal cable management. The cost of the horizontal cable manager is always affordable, which is a necessary investment to avoid the huge losses of future cable chaos. The horizontal cable manager provides an effective way to manage cables on the fiber rack. FS.COM provides various cable management tools with various configurations. Whenever you need to sort out the server rack cable, please visit www.fs.com.

Why Choose 10 Gigabit ISCSI Switch for SAN?

With the development of technology, many users are considering upgrading to 10 Gigabit Ethernet switch. Of course, when it comes to the edges of the fiber switch, the obvious advantage of the Gigabit switch is the speed. The Gigabit Ethernet and 10GbE switch can also bring other advantages, such as reducing cabling and bottlenecks. In addition, another important advantage is iSCSI support. This involves our theme today: 10G iSCSI switch for SAN, which is highly scalable because its capacity can be added as required.

Ethernet Switches

What is the SAN (Storage Area Network)?

The SAN is a dedicated high-speed network or subnet that connects shared pools of multiple storage devices to multiple servers. The SAN is usually assembled through three main components: cabling, host bus adapters (HBAs), and switches connected to storage arrays and servers. Now, let’s focus on the SAN switch. What need SAN switches to do is to move storage traffic. SAN switches are usually FC switches, which are compatible with many FC protocols based on SAN. At the same time, SAN switches can also be based on Ethernet. Such switches should only process traffic on IP SAN to maintain predictable performance. Ethernet switches provide traffic for IP addresses. They treat iSCSI storage targets as IP addresses. These Ethernet switches are what we call iSCSI switches.

Those people who focus on 10G devices have a common misconception that only an expensive and difficult-to-maintain fiber connect network is needed to effectively connect distributed storage SAN. While the FC has its advantages, the iSCSI switch can run economically on your existing Ethernet hardware (although the dedicated hardware is better) and works well on a 10G network.

Understanding the ISCSI Switch

When we need to build our SANs or iSCSI network, we usually heard of DELL iSCSI switch, HP iSCSI switch and so on. However, what is the iSCSI switch? The iSCSI switch is a device that processes and channels data between the iSCSI initiator and the target on a storage device. ISCSI traffic is usually high speed and high capacity, and it needs to be provided with minimal delay. Unlike dedicated FC SAN switches, iSCSI switches are standard Ethernet network switches and can be used for iSCSI traffic optimization. ISCSI switches provide reliability while enhancing network control and supporting quality of service.

10G ISCSI Switch

Figure: 10G ISCSI Switch

The Reason Why Choose 10G ISCSI Switches for SAN

Then, why we choose 10G iSCSI switches for SAN? There are three main reasons, they can be concluded as follows:

  • Flow control: building the SAN by using 10G iSCSI switches can help the host avoid being overwhelmed by the high traffic associated with iSCSI storage through allowing the host to control the rate at which data is received, and use flow control. Traffic control can also help prevent packet loss and avoid increased delays in iSCSI storage networks.
  • Jumbo frame: the high payload of jumbo frames can be processed by providing fewer frames to the switch, thereby improving the efficiency of data transmission. This can improve 10G iSCSI performance, but using jumbo frames may cost more. Basically, the better the iSCSI switch is, the better your SAN will be.
  • Link aggregation: also known as port trunking, this feature combines switch ports into higher bandwidth trunks to increase throughput and create redundancy. This is significant for you to build your SAN.

Conclusion

The world’s needs for data is growing, and nothing seems to be able to solve this problem. The video is becoming more and more high-definition, VR application is more and more used, and even the daily web pages are upgraded. If your business is already feeling the pressure of a data bottleneck, upgrading to a 10G iSCSI switch will put you back on the fast lane.