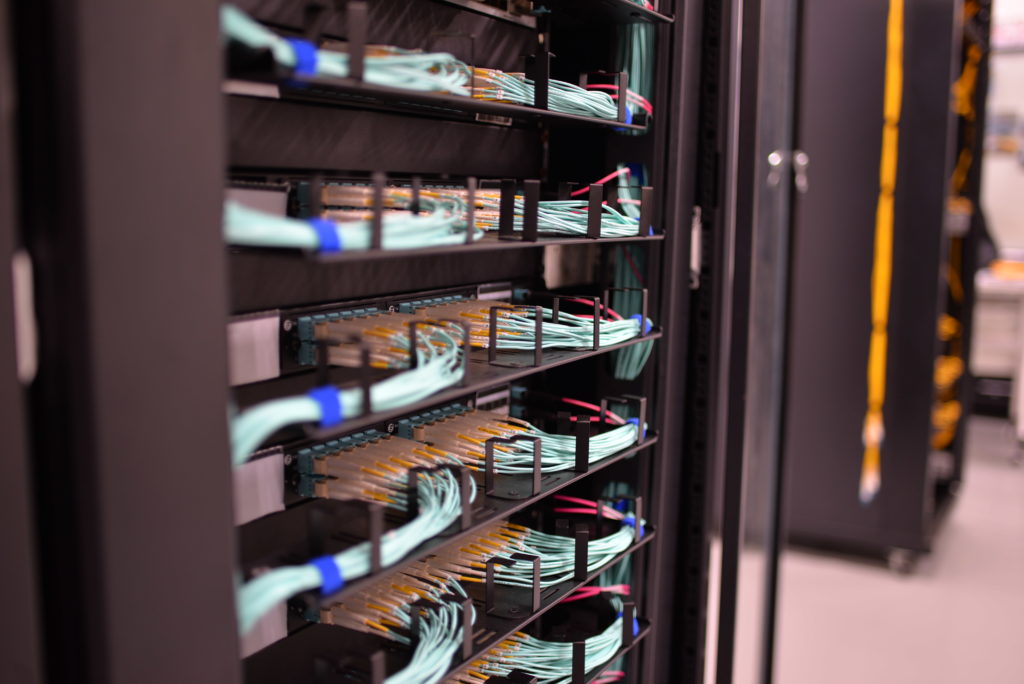
People always say that the patch panel is the “unsung hero” in the data center. It’s pretty vivid. Because there is no doubt that the patch panel is an indispensable component of the simple and tidy cable management. Usually, it is used in two kinds of cabling system, fiber and copper cabling systems. Therefore, it can be divided into two main types: the fiber optic patch panel and Ethernet patch panel. In this post, I will introduce the former one. For more information about Ethernet patch panel, read How to Select the Suitable Copper Patch Panel?
What Is the Fiber Patch Panel?
The fiber patch panel is used to terminate fiber optic cables and make it accessible to individual fiber optic cable for cross connection. A basic fiber optic panel is typically made of metal. It contains the adapter panels, the connector couplers, and a splice tray. The fiber optic cables connect to the adapter panels through the couplers. The splice tray allows cables to be neatly arranged in the panel.
Fiber Patch Panel Types
Based on different standards, the fiber panel can be categorized into different types. Here, we will introduce its types according to the mounting type, loaded state, and port counts.
- According to the mounting type, there are rack mount and the wall mount fiber patch panels. The former one usually holds the fiber optic cables horizontally and it looks like a drawer. Designed in 1U, 2U, 4U size, it can hold up to 288 or even more fibers. In addition, it can be mounted onto 19″and 23″standard relay racks. While the latter one is used in enclosed wall mounting. It can be mounted to any wall easily. FS.COM offers FHD wall mount fiber panels which have the designs of 2 door 2 adapters and 2 door 4 adapters as the option. It’s usually equipped with high density cassettes fixed on walls. For more details, you can refer to Introduction of FHD Wall Mount Patch Panel.
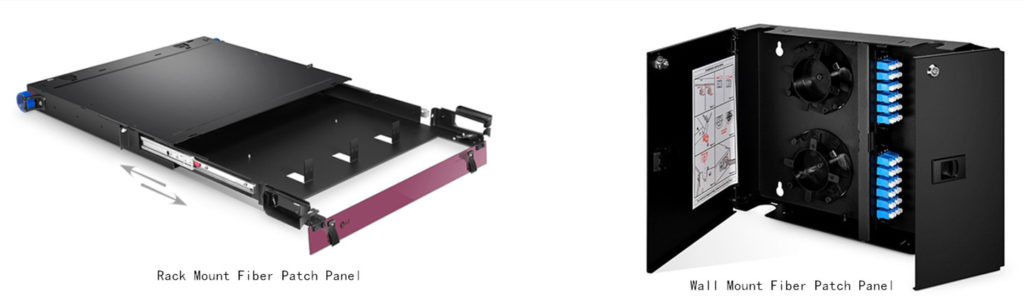
Figure 1: Rack and Wall Mount Fiber Patch Panel
- According to the loaded state, the fiber panel can be classified into the loaded and unloaded ones. The former means that it has been loaded with adapter panels or cassettes. The latter means that it is loaded with nothing. Users can install adapter panels or cassettes depending on their needs, customizing their own patch panels.
- According to the port counts, the fiber panel can be categorized into many types ranging from 12, 24, 48 to 288 and even more. Actually, there is no limit to the count of the port on the panel. FS.COM can provide 12 port patch panel, 24 port patch patch, and 48 port patch panel.
Benefits of Using Fiber Patch Panel
The fiber panel provides a convenient way to manage fiber optic cables. There are three main benefits of using it.
- Convenience
Using the fiber panel, users can easily replace the fiber optic cables and change the order of fiber optic cables according to their needs. Besides, they don’t need to look around for ports of the devices on the rack because the fiber patch panel groups all ports.
- Reducing Cable Congestion
Using the fiber panel, users can reduce the cable clutter and confusion. The fiber optic cables will be easily organized and labeled. Users can manage their cables in any direction.
- Reducing Wear of Devices
Using the fiber panel, users will complete all the connections on the panel. They won’t frequently plug or unplug the cables directly from the devices. Therefore, wear on the ports of expensive networking devices like switches will be reduced.
Conclusion
All in all, the fiber patch panel is such a useful device in the data center, especially in the high-density data center. After reading this post, I think you’ve had a general understanding of the fiber panel. FS.COM can provide varied cable management solutions. Welcome contact us if you have any needs about this, just by visiting www.fs.com.